I started wondering how I was going to test a dell 2950 (9th generation, 9g) if it didn't have a diagnostic tool built into the boot screen like my dell r510(11th generation, 11g) does. I started hunting around on google and found an interesting link from their knowledge base
How to Run Hardware Diagnostics on your PowerEdge Server
I expanded all the possible choices, 12g and 13g just to see what improvements have been made
11g To see a reference to my own r510,
and then 9g and 10g to try and figure out my approach to my current ~70lb paperweight 2950s.

Looks pretty simple. (It wasn't.) Lets get started.
I want to start this post with a little bit of a Too Long Didn't Read. If you need more of an explanation of how I got to my answers and why the above steps didn't work, follow along below.
TL;DR Sign into Dell, look up your tag number for your computer. Goto Drivers and Downloads, and select Diagnostics. This will give you the best version for your computer.
Diagnostics for Dell 9g and 10g updated Apr 2013 ie a 2950/2970
Diagnostics for Dell 11g updated July 2013 ie a dell r510, r710, r515
If you're still following along great. So we follow the links provided
http://www.dell.com/support/contents/us/en/19/article/Product-Support/Self-support-Knowledgebase/enterprise-resource-center/Enterprise-Tools/32-Bit-Diags
goes to the updated tool page of:
http://www.dell.com/support/home/us/en/19/Drivers/DriversDetails?driverId=4Y5N5
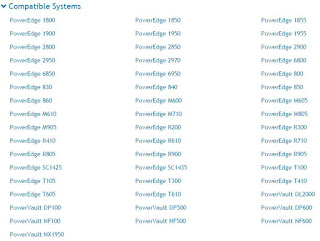
Version v5158. That's nifty, it shows a version thats even newer than what's on my dell r510. I might go back and run this version and see if it finds anything new. Scrolling down we see a few pulldown menus for Compatible systems, OS, etc.
Just to double check we click Compatible systems.
 Well dell, none of these are even 10g, let alone 9g systems. Lets move ahead anyway, I've got stuff on the list, the dell r510, so it won't be completely wasted but I'm hoping to find some old school 2950 love.
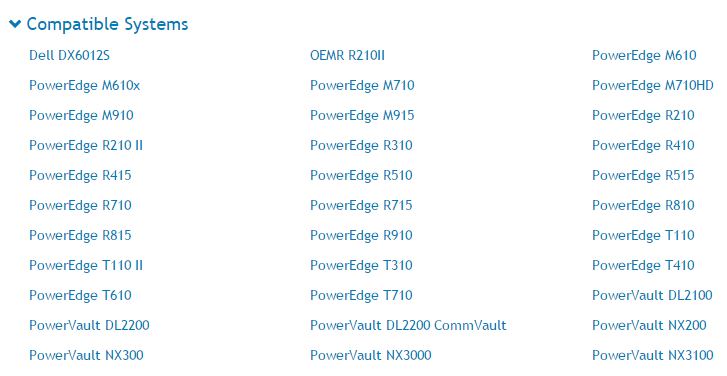
Double Clicking our new exe and accepting the Windows warning we get a new window that's another red flag for our goal, but a confirmation of the webpage list of applicable servers. Version.txt in the extraction folder below is where this information is stored.

We need to extract the files from the self extracting Exe


Welp, next blog post I'll talk about using this v5118.3 Diagnostic Tool on a dell 2970, hopefully the process is now set and this will be quicker than the last attempt to make a bootable CD
http://www.dell.com/support/contents/us/en/19/article/Product-Support/Self-support-Knowledgebase/enterprise-resource-center/Enterprise-Tools/32-Bit-Diags
goes to the updated tool page of:
http://www.dell.com/support/home/us/en/19/Drivers/DriversDetails?driverId=4Y5N5
Version v5158. That's nifty, it shows a version thats even newer than what's on my dell r510. I might go back and run this version and see if it finds anything new. Scrolling down we see a few pulldown menus for Compatible systems, OS, etc.
Just to double check we click Compatible systems.
Double Clicking our new exe and accepting the Windows warning we get a new window that's another red flag for our goal, but a confirmation of the webpage list of applicable servers. Version.txt in the extraction folder below is where this information is stored.

We need to extract the files from the self extracting Exe
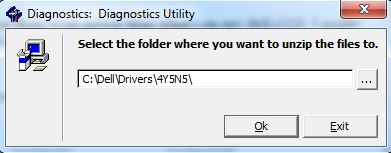
Default setting is fine on my desktop machine. the 4Y5N5 is just the driver ID from the above webpage. We'll just remember it for later.
After extraction and nagivating to the c:\dell\drivers\4Y5N5\DiagnosticUtil\ we find the only exectuble DDDP.exe. Sounds good to me. Dell covers alot of ground with their 1 instruction
"5. Click the OK button to start the Dell Diagnostic Delivery Package. Follow the on screen prompts to create the media desired."
So lets see what this entails.

Looks pretty explanatory. Install on a USB sounds like our winner, but reading the description below it you catch a warning sign that in general I ignore, but decided to figure out how "Note this option may not work with all flash drives" So lets open up readme.txt within the extraction directory and see if we can figure out WHY not all flash drives work.
Minimum requirements list all the operating systems DDDP will work on, and doesn't list Windows 7,8 or 10. I'm running windows 7 and it's open so that's a point to me, but scrolling further down we find the line
Only flash drives up to 2 GB are supported.
Well that's not part of the plan. I have some flash drives that could be used but they're occupied and I can't find them that small usually at a store anymore. So lets see if we can Plan B this and "Create a Bootable CD"
The Create a bootable CD section in the readme is pretty decent so I'll make a TL;DR
DDDP can create an iso image
DDDP can burn this iso image to a cd
DDDP doesn't have drivers for alot of cd burners so it might fail.
IF DDDP burn fails, use another software product to burn the .iso
Ok so clicking the button makes the .iso file and stores it in the extract directory. I attempted to burn the .iso file to a very old CDRW from compusa, which failed completely and actually locked my CD burner from openning when clicking the eject button. Strike 1
*Note: Navigating to the cd player, right clicking the CD player and selecting Eject finally got the CD player to open.
I attempted to use the bottom left choice "Create a bootable Image" which made a .img file. But did not offer the capability of burning directly to a cd.
I then opened up my favorite image burning tool. Imgburn. I selected the .img file first in case the file the DDDP.exe was generating was bad. Imgburn could not recognize the file format of .img. Strike 2.
Openning up Imgburn and selecting the ISO file however worked. It was alot slower than expected and took about 6minutes to burn 220k files to the cd at 4x speed (I did say the CD was old).
I navigated to the cd and found...1 .txt file. Why? Openning this file it actually explains within the text document.
"If you are reading this file the CD was burned successfully....",
It uses some type of emulation on the CD to make it boot to run the diagnostics software.
I ran this in my dell r510, It loads up a screen similar to a dos prompt. And gives you a few choices. Options 1-3 When you select the option to go into Diagnostics. you match exactly what I presented in my previous blog post and see this window.

*you'll notice the version in the bottom left on my server is v5130.1, the tool link above is updated to v5158
Follow my previous blog post to see the capabilities of scanning your system hardware for errors.
However, I still don't believe this Diagnostic Utility is designed for my dell 2970. After logging in and selecting the Tag for my Dell 2970. I found under Drivers and Downloads\Diagnostics\ a totally different file which lists the 9 generation and 10 generation servers.

*diagnostics dropdown within Dell's Drivers and Downloads

*Listed systems that can use v5118.3 diagnostic utility
No comments:
Post a Comment